Companies are constantly seeking smarter ways to manage IT tasks, lower operational costs, and stay competitive. Two popular strategies that businesses use to achieve these
Read more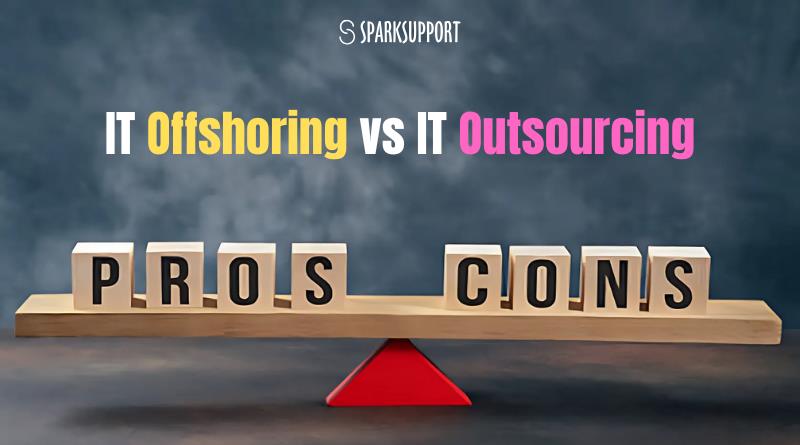
Companies are constantly seeking smarter ways to manage IT tasks, lower operational costs, and stay competitive. Two popular strategies that businesses use to achieve these
Read more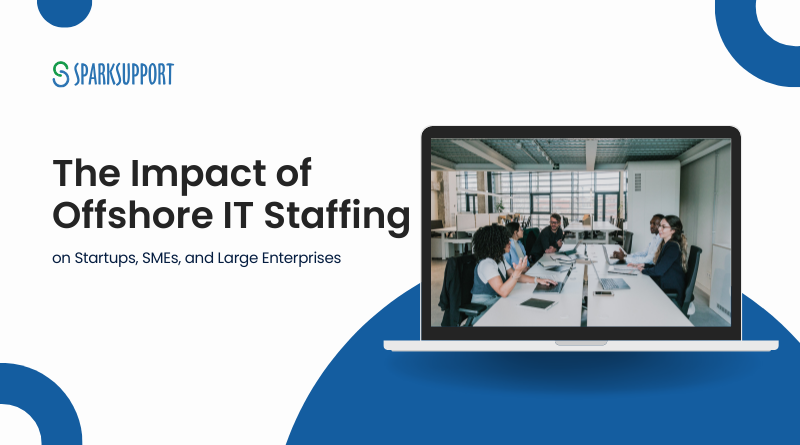
In today’s highly competitive digital landscape, businesses of all sizes—startups, small and medium-sized enterprises (SMEs), and large enterprises—face constant challenges in scaling their IT capabilities.
Read more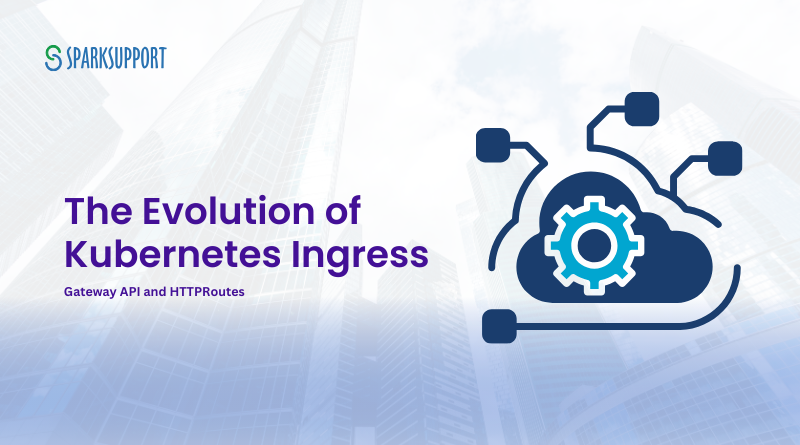
Kubernetes has always been at the forefront of innovation in managing and scaling cloud-native applications. One of the key components of Kubernetes networking is ingress
Read more
In this blog, we have listed IT staff augmentation companies based on their performance. Unlike other companies, these listed companies have high user engagement and
Read more
Are you looking to scale your DevOps team quickly and efficiently? Look no further than SparkSupport! With our streamlined process and easiest steps to hire
Read more
In today’s globalized business landscape, companies are constantly seeking ways to optimize their operations, reduce costs, and improve efficiency. Two popular strategies that organizations often
Read more
For many business owners, finding a skilled business intelligence (BI) or Power BI expert can be challenging. Consequently, numerous companies choose to outsource their BI
Read more
Building a Docker Image in 6 Steps Docker has transformed software development, making it easier to create, ship, and deploy applications within lightweight containers. At
Read more
In today’s fast-paced digital world, businesses must scale rapidly to stay competitive. Cloud Computing has become a cornerstone of this acceleration, offering organizations the flexibility,
Read more