As you are aware nginx don’t read .htaccess rewrite rule nginx has its own rewrite rule. WordPress has already embraced nginx, wordpress.com works with nginx.
Read more
As you are aware nginx don’t read .htaccess rewrite rule nginx has its own rewrite rule. WordPress has already embraced nginx, wordpress.com works with nginx.
Read more
startup-scripts-for-nginx that can be used for centos. Save the below code in a file named nginx in /etc/init.d/. Chmod its permission to 755. Also make
Read more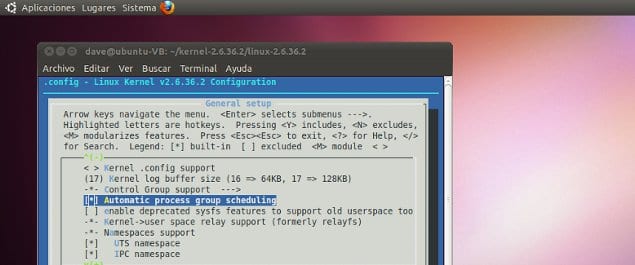
I decided to compile my own kernel 2.6 compile steps for my centos. Here are the steps I have followed and which worked without any
Read more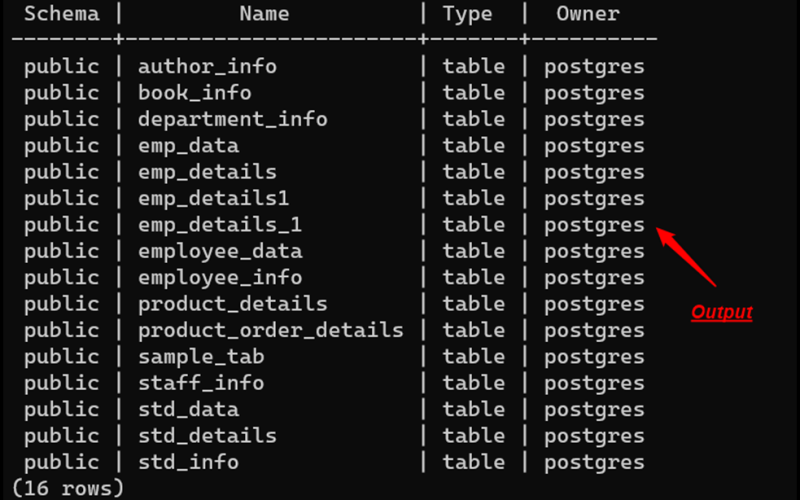
PostgreSQL is an object-relational database management system (ORDBMS) based on POSTGRES, Version 4.2, developed at the University of California at Berkeley Computer Science Department. POSTGRES
Read more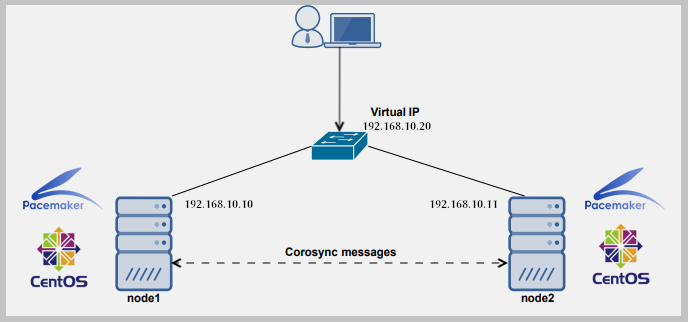
To all those who needs uninterrupted webservice here is an article that describes basic settings of how Linux Fail-over Clustering can be done using linux
Read more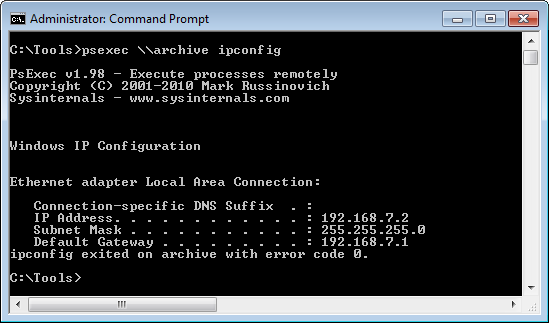
Now I am going introduce you to a set of commands & System Admin Tools that may come handy FIND [bash]find -perm 777 -type d
Read more