In a saturated tech industry with trending frameworks and evolving languages, it’s easy to get swept away by the hype surrounding tools like Node.js, Python,
Read more
In a saturated tech industry with trending frameworks and evolving languages, it’s easy to get swept away by the hype surrounding tools like Node.js, Python,
Read more
If your product touches customer data, security isn’t just your responsibility; it’s your reputation. From startups to enterprise-grade SaaS providers, tech companies are facing a
Read more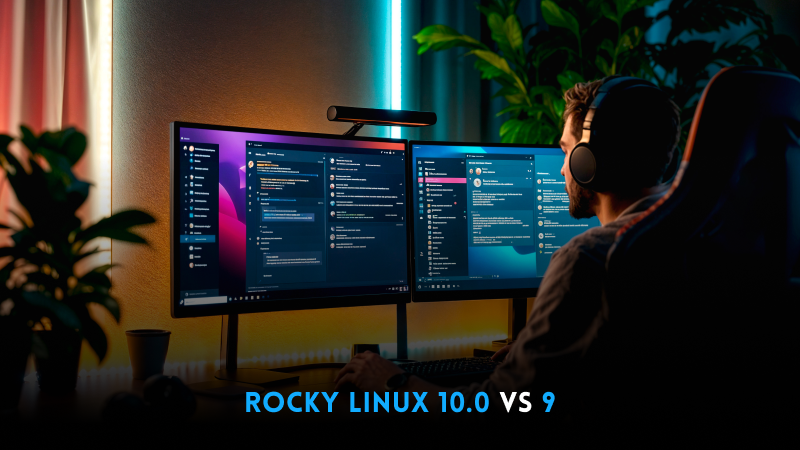
The release of Rocky Linux 10.0 GA marks a major milestone in the open-source enterprise Linux landscape. Built as a community-driven successor to CentOS, Rocky
Read more
If you’re a developer, this blog breaks things down into what you need to know and how to handle it. First Things First: Do These
Read more
Today’s volatile global economy constantly faces macroeconomic challenges like inflationary pressures and geopolitical tensions, to interest rate hikes and supply chain disruptions that are becoming
Read more
As organizations worldwide strive to scale faster, operate leaner, and adapt more rapidly, cloud computing remains the catalyst of this transformation. At SparkSupport, a leading
Read more
Are you drowning in data but still struggling to make sense of your sales and customer insights? Many businesses collect tons of data every day,
Read more
Before you hire a Power BI candidate, ask yourself: Do they truly meet your expectations beyond the resume? It’s easy to miss out on the
Read more
Imagine building apps that see, think, and act smart—all without writing a single line of code. With Microsoft PowerApps and built-in AI capabilities, turning your
Read more