The release of Rocky Linux 10.0 GA marks a major milestone in the open-source enterprise Linux landscape. Built as a community-driven successor to CentOS, Rocky
Read more
The release of Rocky Linux 10.0 GA marks a major milestone in the open-source enterprise Linux landscape. Built as a community-driven successor to CentOS, Rocky
Read more
Recently, I encountered the error “Access Denied” right after a fresh phpMyAdmin installation on one of my desktop machines running on an older Ubuntu version.
Read more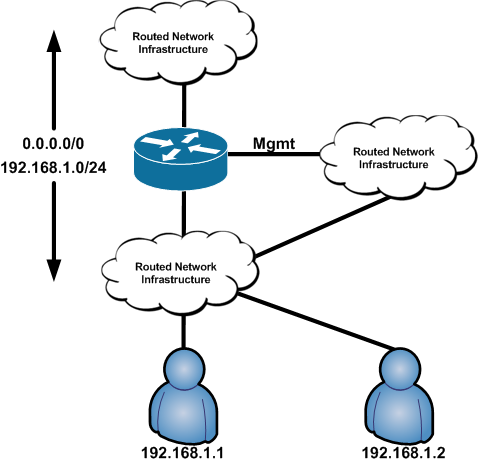
In this blog, we gonna learn how network namespaces works. First off, install openvswitch in your Ubuntu apt-get update apt-get install openvswitch-switch Now let us
Read more
CEPH Storage Ceph is an open-source, software-defined and distributed storage system. A Software-defined Storage (SDS) system means a form of storage virtualization to separate the
Read more
What is Wowza Streaming Engine? Streaming media is a video or audio functionality being sent across the Internet in compressed manner and played instantly without
Read more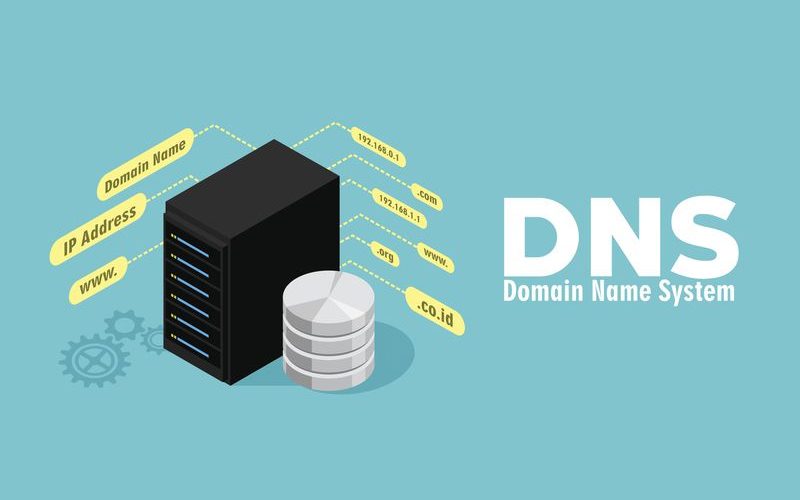
Domain Name System (DNS) Domain name system are the Internet’s equivalent of a phone book. They maintain a directory of domain names and translate them
Read more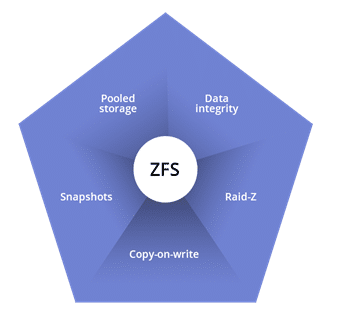
Features Of ZFS – the Zettabyte File System – is an enormous advance in capability on existing file systems. ZFS is a combined file system
Read more
Why Mcafee Audit Plugin On Ubuntu Nowadays security is a major concern with each and everything. Here I am a explaining a method by which we
Read more
What is Bacula? Bacula is a software which permits the system administrator to manage backup, recovery, and verification of computer data across a network of
Read more