If your product touches customer data, security isn’t just your responsibility; it’s your reputation. From startups to enterprise-grade SaaS providers, tech companies are facing a
Read more
If your product touches customer data, security isn’t just your responsibility; it’s your reputation. From startups to enterprise-grade SaaS providers, tech companies are facing a
Read more
Introduction How to install and configure Bacula is a common question for us. Basically Bacula is an on-linebased back up tool. Which is used to
Read more
Below we give a brief description of how to install and configure Nagios. To install Nagios make sure the following are installed and working properly
Read more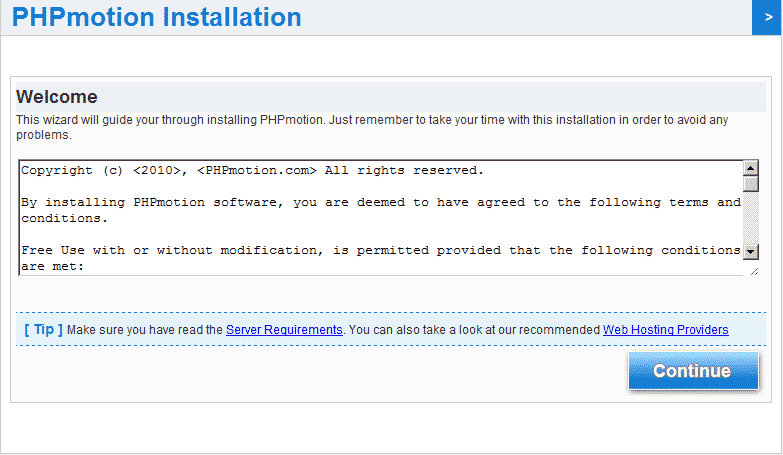
Sparksupport offers you the phpmotion install script to install phpmotion in your root folder or subfolder. Copy paste this script to a file name of
Read more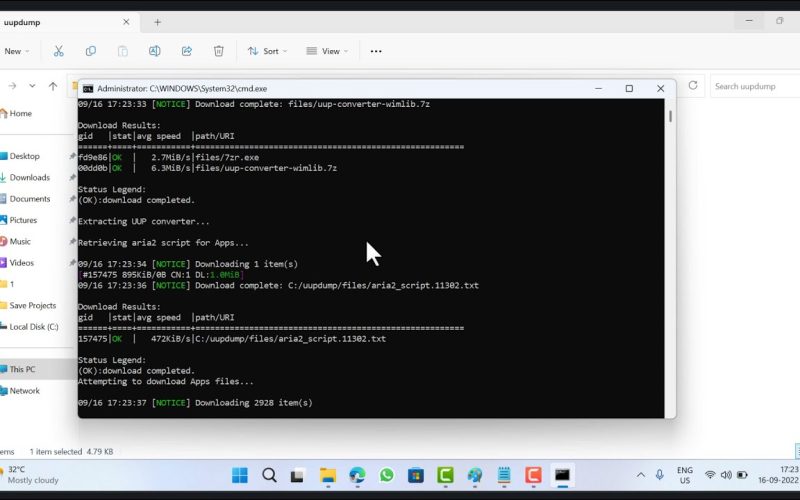
I happen to see this uu_upload.pl download prompt error when installing phpmotion on a subfolder. This is because Apache doesn’t understand this perl file in
Read more
Hi Its common that video files are not getting converted into flv format for streaming. This can be caused due to deprecated option that is
Read more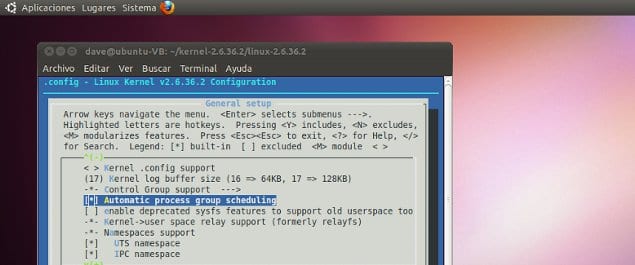
I decided to compile my own kernel 2.6 compile steps for my centos. Here are the steps I have followed and which worked without any
Read more
We all seem to have questions regarding how to install clipshare First off download clipshare and unzip it. You will see installation.txt sql and upload folder after the extract. Now
Read more
Exim commands BASIC COMMANDS Print a count of the messages in the queue: exim -bpc Print a listing of the messages in the queue (time
Read more