The IM Gateway plugin for Openfire provides connectivity to other IM networks (AIM, ICQ, IRC, MSN, Yahoo, etc). It uses internal mechanisms to smooth the
Read more
The IM Gateway plugin for Openfire provides connectivity to other IM networks (AIM, ICQ, IRC, MSN, Yahoo, etc). It uses internal mechanisms to smooth the
Read more
Introduction To Puppet Configuration Puppet Configuration is a Ruby based Configuration Management System with client/server model, licensed under GPLv2 .It has one Master server puppetmasterd
Read more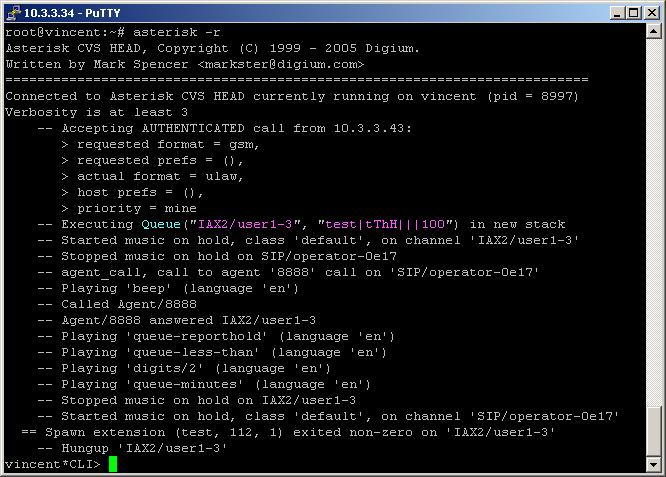
Introduction To Agent Login In AsteriskNOW This blog explains how an agent can login to a queue directly through an extension in Agent Login In
Read more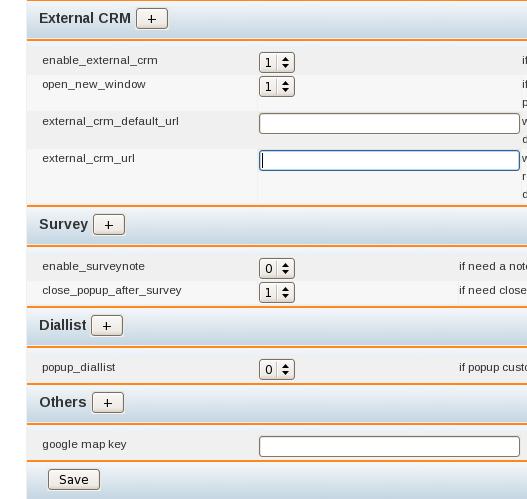
Steps for install AsterCRM and integrate it with external CRM 1) Download and unzip the source (assuming your WEB root is /var/www/html) Get the software
Read more