Sparksupport offers you the phpmotion install script to install phpmotion in your root folder or subfolder. Copy paste this script to a file name of
Read more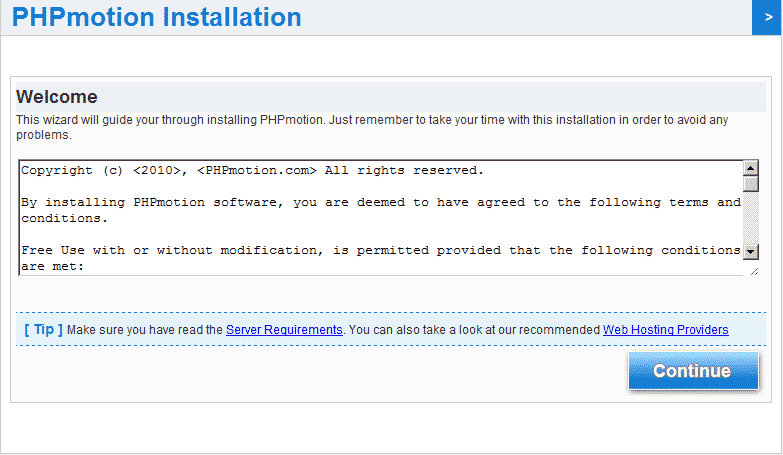
Sparksupport offers you the phpmotion install script to install phpmotion in your root folder or subfolder. Copy paste this script to a file name of
Read more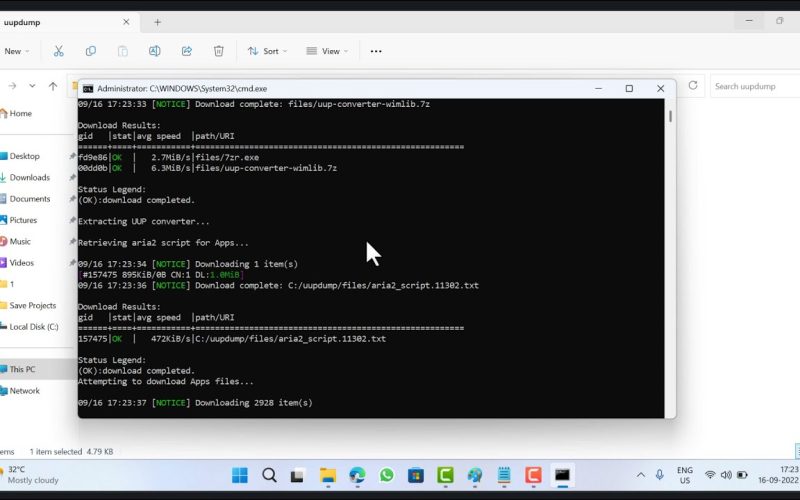
I happen to see this uu_upload.pl download prompt error when installing phpmotion on a subfolder. This is because Apache doesn’t understand this perl file in
Read more
Hi Its common that video files are not getting converted into flv format for streaming. This can be caused due to deprecated option that is
Read more
As you are aware nginx don’t read .htaccess rewrite rule nginx has its own rewrite rule. WordPress has already embraced nginx, wordpress.com works with nginx.
Read more
startup-scripts-for-nginx that can be used for centos. Save the below code in a file named nginx in /etc/init.d/. Chmod its permission to 755. Also make
Read more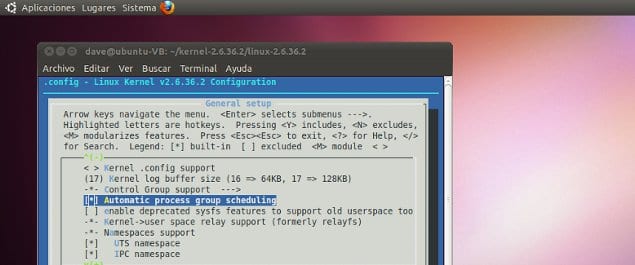
I decided to compile my own kernel 2.6 compile steps for my centos. Here are the steps I have followed and which worked without any
Read more